So obviously, I’ve been off the handle for about a week or so…
However, I have finally finished my daughter’s tutu that I made for her birthday party in a couple of weeks. WOO-HOO! One thing down, so many more to go. I have a couple more recipes coming your way as well, but figured I would switch things up a bit and post my new sewing project for you first.
Okay, so I’m sure you will notice as I post more about projects for my daughter’s birthday, that we have what some might call an unhealthy obsession with My Little Pony. Personally I just keep saying I’m reliving my childhood through my daughter, but meh, I don’t care. There are plenty worse things out there right now that she could be obsessed with so, yeah. Sure, I know all the names and probably could recite some episodes by memory alone (thanks to Netflix having complete seasons, and my daughter knowing how to operate the Wii all on her own), but this was something I liked as a little girl, so I may indulge more than I should and I can’t help it. My daughter’s favorite is Rainbow Dash, so I figured my as well doll her up in the blue and rainbow.
Rainbow Dash Inspired Tutu
Supplies:
8 yards tulle (more or less depending on the size this is for a child’s size 8)
32 yard ribbon for trim
satin blanket binding for the waist band
1/2″ elastic
thread
safety pin
scissors
sewing machine & needles
pins
Instructions:
So first off the reason it took me so long to complete this was the ribbon for the trim. I couldn’t find what I wanted, so I ended up buying two packages of satin blanket binding and cutting them into 3/4″ strips and using a lighter to singe all of the edges so they wouldn’t fray. That took me a couple of days because let’s face it lighter gets hot and holding one down for extended periods of time can be painful. Once I had the trim all set and ready to go it only took me two nights to put the tutu together.
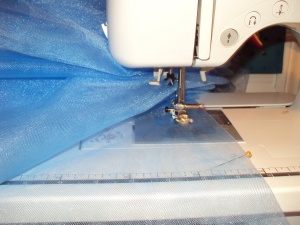
First you are going to want to fold the tulle in half, length wise and cut it into two 8 yards strips. After that you are going to want to fold it in half again with both pieces on top of each other and pin it as best you can on the fold. Be patient, tulle can be difficult to pin and make it do what you want because it is so slippery of a fabric. After the fabric is pinned you will sew all the way down the fabric approximately 1″ from the fold. This will create the casing that the elastic will later go through.
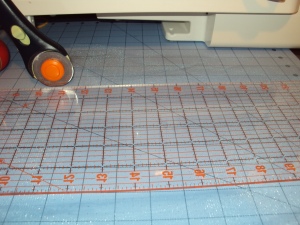
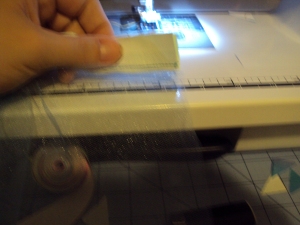
After the casing is sewn, I trimmed the edges of the fabric. I trimmed the top two layers about one inch shorter than the back, so it would have a tiered effect. Sorry, if it’s unclear in the photo, blue tulle on top of my blue cutting mat doesn’t show up very well.
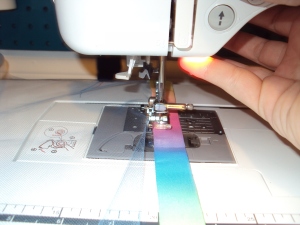
 After every layer is trimmed up we can start to sew on the trim. I just topstitched it on to the bottom of the tulle on all 4 layers.
After all the trim is on you are going to have something like this going on:
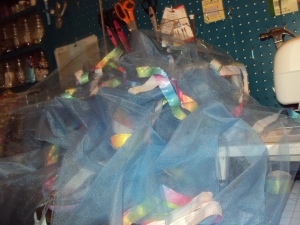 Attack of the blue tulle!!! Haha. Now we will want to sew together the back seam of the skirt. I did each layer separately from the stitching from the elastic to the end of the trim. This makes the seam less bulky. Make sure not to sew the casing for the elastic closed.
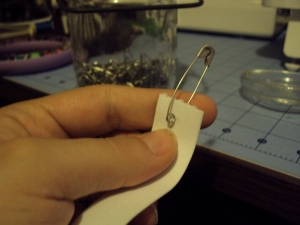
 Now we will want to measure how long the elastic will be. I just took my roll of elastic and wrapped it around my daughter’s waist for measurement. I gave it and extra inch for the overlap and cut. I attached a safety pin to one end and fed it through the casing.

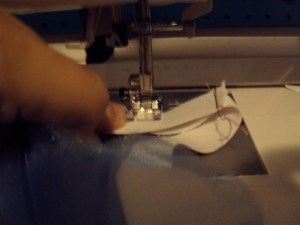
After you have fed the elastic through all of the tulle, it is time to sew it together. Overlap the elastic by an inch or two and run it through your machine a few times.
After that, I had my model try it on:
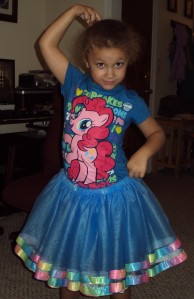
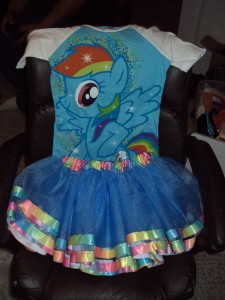
And now the birthday party out fit is complete, okay so I cheated on the shirt…….but hey, there’s only so much time in a day:
Unfortunately, it was past my models bedtime when the skirt was finally complete, but I’m sure I will more photos to post after her party in a couple of weeks.


